Open source software has a reputation that does a lot of heavy lifting. "The code is public, so anyone can audit it," people say, as if the act of being public is the same as being audited. It isn't. In 2021, researchers from the University of Minnesota famously got malicious commits accepted into the Linux kernel just to prove that "many eyes" can still miss bad code. And in March 2024, the world got a much scarier reminder when a backdoor was discovered in xz-utils, a compression library buried in nearly every Linux distribution. It had been planted patiently over two years by a contributor who built trust before striking.
If a backdoor can slip into one of the most scrutinized projects on the planet, what about the random GitHub repo you're about to clone because it solves your exact problem? The truth is that "open source" and "safe" are two different properties. One is about licensing and visibility. The other is about whether the thing you install will harm your machine, leak your data, or quietly mine cryptocurrency on your laptop.
This guide is the practical checklist I run before I trust any open source tool, whether it's a Python package, a WordPress plugin, a browser extension, or a desktop utility. You'll learn how to verify open source software safety using signals you can check in under fifteen minutes, how to read a project's health like a pro, and when to walk away entirely.
Key Takeaways
- Open does not mean audited. Treat every project as unverified until you've checked its provenance, maintainers, and activity.
- Verify the source, not just the binary. Confirm you're downloading from the official repository and that checksums or signatures match.
- Read the project's vital signs: commit history, issue response time, number of maintainers, and dependency freshness.
- Scan dependencies, not just the main package. Most real-world supply chain attacks happen in transitive dependencies you never chose.
- Sandbox first. Run unfamiliar software in a VM or container before letting it near your real data.
- When stakes are high, pay for support. A maintained commercial tool often beats an abandoned free one for production systems.
What "Verifying" Open Source Software Actually Means
Verification isn't a single yes/no test. It's a stack of independent checks, and each one reduces a different kind of risk. Think of it the way airport security uses layers: no single scan is perfect, but together they catch most threats.
There are three questions you're really trying to answer:
- Is it authentic? Am I getting the genuine software from the genuine author, not a typosquatted clone or a tampered build?
- Is it maintained? Is there a living project behind this, with people who fix bugs and patch vulnerabilities?
- Is it clean? Does the code do only what it claims, without hidden network calls, obfuscated payloads, or risky permissions?
You don't need to be a security researcher to answer all three. You need a repeatable routine. The same instinct applies whether you're vetting a CLI tool or browser add-ons, which is why our companion piece on how to vet browser extensions before you install them uses the same underlying logic.
Step 1: Confirm You're Looking at the Real Project
The single most common way people get burned isn't malicious open source code. It's installing the wrong package. Attackers register names that look almost identical to popular libraries and wait for typos. This is called typosquatting, and it's responsible for thousands of malicious packages on npm and PyPI.
The provenance checklist
- Find the canonical home. Search the project name plus "official site" or "GitHub." The real repository usually has the most stars, is linked from the package registry, and is referenced by reputable articles.
- Match the publisher. On npm or PyPI, click through to the source repo and confirm the registry account is actually owned by the project (look for verified org badges and consistent author names).
- Watch for character tricks.
requestsversusrequets, or a Cyrillic "а" swapped for a Latin "a." Copy and paste the name rather than typing it. - Beware fresh accounts. A "popular" tool published by a one-week-old account with no other repos is a red flag.
Here's a worked example. Say you want a Python library for parsing dates. You search and find dateparser with 2,600 GitHub stars, last commit two weeks ago, and a PyPI page that links straight back to the repo. You also see date-parser with 4 stars, published 9 days ago, and no linked repo. The first is the real one. The second could be anything. That two-minute comparison just saved you from a coin toss.
Step 2: Verify the Download With Checksums and Signatures
Even the genuine project can serve a tampered file if a mirror or CDN is compromised. That's why serious projects publish a checksum (often SHA-256) and sometimes a cryptographic signature.
How to verify a checksum
A checksum is a fingerprint. If even one byte of the file changes, the fingerprint changes completely. The project publishes the expected value, and you compute it locally to compare.
- On Windows (PowerShell):
Get-FileHash installer.exe -Algorithm SHA256 - On macOS / Linux:
shasum -a 256 installer.dmgorsha256sum installer.tar.gz
Compare the output, character by character, with the value on the official download page. If they match, the file wasn't altered in transit. If they don't, stop and delete it.
Why signatures go further
A checksum proves the file matches what's published. A GPG signature also proves who published it, because it's signed with a private key only the maintainer holds. To verify, you import the maintainer's public key and run gpg --verify file.sig file. A "Good signature" line confirms authenticity. This matters most for operating systems and security tools, where a swapped installer is catastrophic.
Managing keys and tooling across machines is its own small headache. If you find yourself reinstalling verification tools on every new device, our walkthrough on how to migrate software licenses to a new computer safely covers keeping your trusted toolchain consistent.
Step 3: Read the Project's Vital Signs
A healthy project is a moving target for attackers, because maintainers and contributors notice when something's off. An abandoned project is a sitting duck. Before installing, spend five minutes reading the repo like a doctor reading a chart.
What to check on GitHub or GitLab
- Last commit date. Anything older than 12 months for an actively used tool deserves suspicion. For niche utilities, judge by whether issues still get answered.
- Number of maintainers. A bus factor of one (a single person who, if they vanished, would kill the project) is a real risk. The xz backdoor exploited exactly this: a burned-out solo maintainer handing off trust.
- Open vs. closed issues. Hundreds of open issues with no replies signals neglect. Quick, thoughtful responses signal a living community.
- Release cadence. Regular tagged releases with changelogs beat a repo where you have to clone
mainand hope. - Security policy. A
SECURITY.mdfile with a disclosure process means the maintainers take vulnerabilities seriously. - Stars and forks in context. Useful as a popularity signal, but easily faked. Don't rely on them alone.
The dependency question
Modern software is mostly other people's software. A single npm package can pull in 80 transitive dependencies. Each one is a door someone else holds the key to. Check the dependency tree (npm ls, pip show, or the repo's lockfile) and look for packages that are unmaintained, oddly named, or duplicated at conflicting versions.
Step 4: Scan the Code and the Binary
You don't have to read every line. You need to look for specific danger signs and let automated tools do the grunt work.
Free tools that do the heavy lifting
- VirusTotal. Upload a binary or paste a URL and it runs 70+ antivirus engines. One or two flags can be false positives; ten flags means walk away.
- npm audit / pip-audit. Built-in scanners that cross-reference your dependencies against known vulnerability databases. Run before every install.
- Socket.dev or Snyk. These flag suspicious behaviors like install scripts that reach out to the network or access the filesystem unexpectedly.
- OSV-Scanner. Google's open source vulnerability scanner that checks your lockfiles against the OSV database.
Manual red flags worth a grep
- Obfuscated or minified code in a project that shouldn't have any (e.g., base64 blobs in a "simple" utility).
- Install or build scripts that download and execute remote code with
curl ... | bash. - Hardcoded URLs, IP addresses, or credentials in source files.
- Requests for permissions far beyond the tool's purpose, the same warning sign that matters for plugins and extensions.
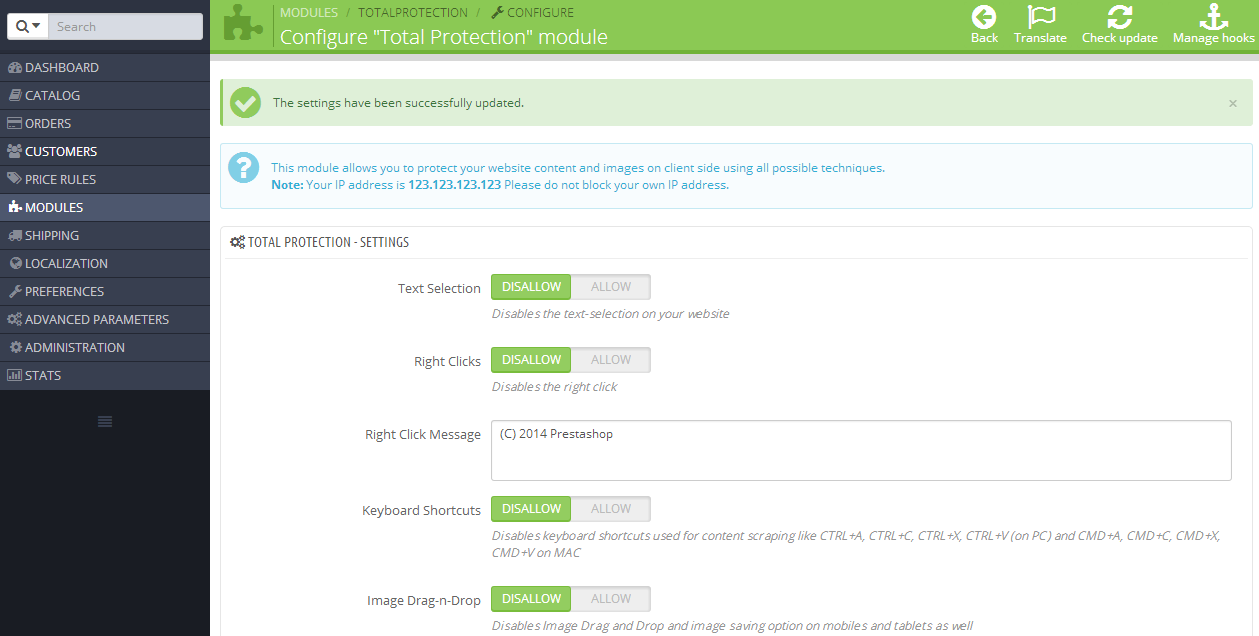
This kind of scrutiny pays off most on platforms with large attack surfaces. If you run a CMS, dedicated hardening tools like eDarpan WordPress Protection and SiteGuard Pro handle a lot of this monitoring for you, while Prestashop Total Protection Pro does the equivalent for store owners. You can browse the full lineup under WordPress plugins if a CMS is your main concern.
Step 5: Sandbox Before You Commit
The safest way to evaluate unfamiliar software is to run it somewhere it can't hurt you. A sandbox is a disposable environment with no access to your real files, credentials, or network secrets.
Your sandbox options, ranked by effort
- A virtual machine (VirtualBox, VMware, or Windows Sandbox). Slow to set up, but a complete throwaway OS. Snapshot it, test, roll back.
- A Docker container. Fast and lightweight for command-line tools and servers. Run the tool, inspect what it touches, then
Cover image: My computer by heinousjay, licensed under BY-SA 2.0 via Openverse.