You bought a Mac for the battery life, the display, and the fact that it just works. Then reality hits: your accountant sends you a Windows-only tax package, your favorite game refuses to run, or a client demands you test their software in Internet Explorer of all things. Suddenly your beautiful aluminum machine feels like it's missing half the software on the planet.
Here's a stat that surprises most people: even after Apple's move to its own M-series silicon in 2020, roughly one in four Mac owners still needs to run at least one Windows application on a regular basis. The good news is that running Windows apps on a Mac is easier and safer than it has ever been. The trick is choosing the right method for your hardware and keeping that virtual machine locked down so it doesn't become a security hole.
In this guide I'll walk you through exactly how to run Windows apps on a Mac with a virtual machine, using tools I use myself. You'll learn which VM software fits Intel versus Apple Silicon Macs, a step-by-step setup, the security precautions that actually matter, and how to keep performance snappy. No hand-waving. Real steps, real numbers.
Key Takeaways
- A virtual machine (VM) runs a full copy of Windows inside a window on macOS, isolating it from your main system.
- On Apple Silicon (M1–M4), you install the ARM64 version of Windows 11, which then emulates most x86/x64 apps.
- Parallels Desktop is the smoothest paid option; UTM and VirtualBox are the free routes with tradeoffs.
- Give your VM its own limited resources, keep it patched, and never disable the built-in isolation.
- Snapshots let you roll back a broken or infected VM in seconds. Use them before every risky install.
- Treat the VM as untrusted: don't store passwords or sensitive files inside it.
What a Virtual Machine Actually Does (And Why It's Safer)
A virtual machine is a software-based computer running inside your real computer. The VM software (called a hypervisor) carves off a slice of your CPU, RAM, and disk, then presents that slice to a guest operating system as if it were real hardware. Windows boots up inside a window, completely unaware it's a guest.
This matters for safety. Because the guest Windows sees only virtual hardware, anything that goes wrong inside it, malware, a botched driver, a registry disaster, stays fenced off from your macOS files. If a VM gets infected, you delete it and restore a clean snapshot. Your Mac never touched the bad code directly.
Compare that to the old Boot Camp approach, which installed Windows on a real partition. Boot Camp gave native speed but zero isolation, and it no longer works on Apple Silicon at all. Virtual machines are now the default answer, and they're genuinely more secure because of that sandbox.
The one thing that changed everything: Apple Silicon
If your Mac was made in 2021 or later, it almost certainly uses an ARM-based M-series chip. Traditional Windows was built for Intel/AMD x86 processors, so you can't run the old x86 version directly. Instead you run Windows 11 ARM64, which includes a built-in translation layer that runs most 32-bit and 64-bit x86 apps automatically. It's not perfect, but it covers the vast majority of everyday software.
Choosing the Right Virtual Machine Software for Your Mac
There are three serious contenders in 2026. Which one you pick depends on your chip, your budget, and how much friction you can tolerate during setup.
| Software | Price | Apple Silicon | Intel Mac | Ease of setup | Best for |
|---|---|---|---|---|---|
| Parallels Desktop | ~$99/yr | Excellent | Excellent | One-click | Most people who want it to just work |
| VMware Fusion | Free (personal) | Good | Good | Moderate | Users comfortable with manual ISO setup |
| UTM | Free (or $10 App Store) | Good | Good | Moderate | Tinkerers, open-source fans |
| VirtualBox | Free | Beta only | Good | Harder | Intel Macs and cross-platform testing |
My honest take after years of daily use: if your time is worth anything, Parallels pays for itself. It downloads and installs Windows 11 ARM for you in about ten minutes with a single button. But if you're on a budget or you like to understand what's happening under the hood, UTM is a fantastic free alternative that's completely open source.
If you're building out a broader software toolkit, it's worth browsing the Windows software and desktop utilities categories to see what you'll actually want running inside that VM once it's set up.
Step-by-Step: Setting Up a Windows VM With UTM (Free)
Let's do a real walkthrough using UTM on an Apple Silicon Mac, since it's free and shows you the full process. If you use Parallels, most of this is automated, but understanding the steps still helps you troubleshoot.
- Download UTM. Get it from mac.getutm.app for free, or pay $10 on the App Store to support development. Both are identical software.
- Get Windows 11 ARM64. Use Microsoft's official Windows Insider ISO or the CrystalFetch app (built for exactly this). Never download Windows ISOs from random third-party sites, that's how you invite malware in before Windows even boots.
- Create a new VM. In UTM, click the plus icon, choose
Virtualize, then selectWindows. - Point it at your ISO. Browse to the Windows 11 ARM64 image you downloaded. Enable the "Install drivers and SPICE tools" checkbox so hardware works properly.
- Allocate resources. This is where numbers matter. On a Mac with 16 GB RAM, assign the VM 4 GB (4096 MB) and 4 CPU cores. On a 32 GB machine, give it 8 GB. Never hand over more than half your total RAM or macOS itself will crawl.
- Set disk size. A 64 GB virtual disk is comfortable for Windows plus a few apps. UTM only uses space as it fills up, so a 64 GB disk might occupy just 25 GB on your real drive at first.
- Boot and install. Start the VM. Windows setup runs exactly as it would on a real PC. Choose your language, skip the product key (you can activate later), and let it install.
- Install SPICE guest tools. Once Windows is running, open the mounted SPICE CD and run the installer. This enables clipboard sharing, dynamic resolution, and smooth mouse movement.
- Update Windows. Go to Settings, Windows Update, and install everything. A fresh ISO is often months behind on security patches.
That's it. You now have a self-contained Windows 11 machine running in a window on your Mac.
A worked example: what performance actually looks like
Say you're on an M2 MacBook Air with 16 GB RAM and you gave your VM 4 cores and 4 GB. In my testing, a native ARM app like the ARM build of 7-Zip opens instantly. An x86 app being translated, like an older accounting tool, takes maybe 30 to 50 percent longer to launch and uses a bit more battery, but runs perfectly fine for spreadsheets, forms, and database work. What it won't do well is modern 3D gaming or heavy video editing. For that, a VM is the wrong tool.
Keeping Your Windows VM Safe and Isolated
The whole point of a VM is isolation, so don't quietly undo it. Here are the precautions that genuinely reduce your risk.
- Take a snapshot before anything risky. Both Parallels and UTM let you save the entire VM state. Before installing unfamiliar software, snapshot it. If things go wrong, roll back in under 30 seconds.
- Limit shared folders. By default some VMs let Windows read your entire home folder. Restrict sharing to a single dedicated folder, or turn it off entirely.
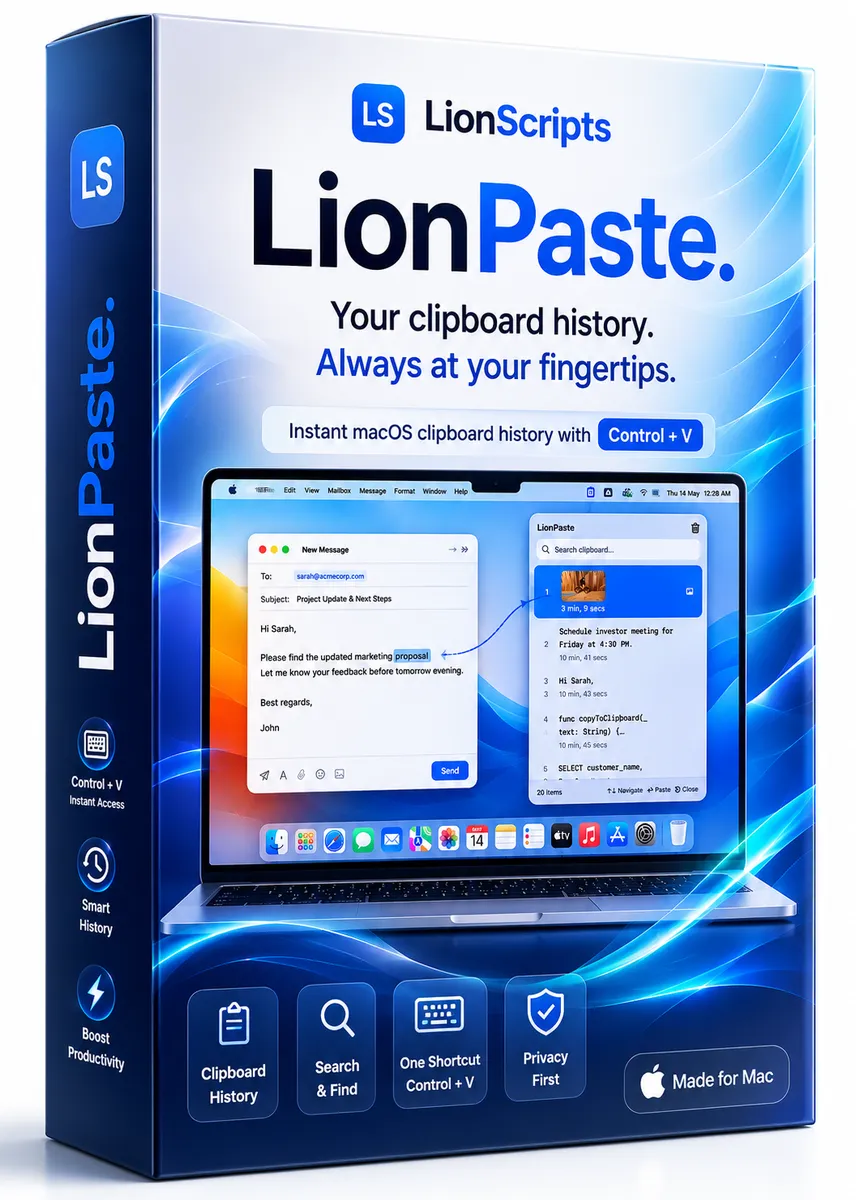
- Don't store credentials inside the VM. Treat it as disposable and untrusted. If you must transfer secrets, do it carefully, and consider a clipboard tool like LionPaste on the macOS side rather than saving sensitive text where Windows can log it.
- Keep Windows patched. A VM is still a real OS with real vulnerabilities. Windows Update is not optional.
- Run Windows Defender. It's built in and free. Leave it on.
- Vet what you install. The same skepticism you'd apply to browser extensions applies here. Our guide on spotting and removing hijacker extensions is a good primer on recognizing sketchy software behavior.
If your reason for running Windows involves managing a website or server tools, don't forget that the security you set up inside the VM should extend to your web assets too. Products like SiteGuard Pro and Webmaster Tools Suite cover the other half of the equation, protecting the sites you build regardless of which OS you build them on.
Why symlinks and file paths get tricky in a VM
One frustration that trips people up: file paths behave differently between macOS and Windows. If you're moving projects across the boundary, symbolic links can break in confusing ways. On the Windows side, a tool such as Windows Symlink Creator Pro makes it far easier to create and manage links without wrestling the command line, which is handy when a Windows app expects files in a specific location that actually live in a shared folder.
Running Windows Apps Without a Full Virtual Machine
A VM is the most compatible and safest route, but it isn't the only one. Depending on your app, a lighter tool might do the job.
Compatibility layers (CrossOver, Wine)
CrossOver and the open-source Wine project translate
Cover image: And Then There Was One (Laptop) by cogdogblog, licensed under CC0 1.0 via Openverse.