Most developers assume their software stack is legally clean because they only pulled "open source" packages. That assumption has cost companies real money. When Cisco acquired Linksys, it inherited a GPL compliance dispute that dragged on for years. VMware faced a lawsuit over Linux kernel code buried deep in its ESXi product. And these weren't fly-by-night operations. They had legal teams. They still missed it.
Here's the surprising part: a typical mid-sized web application drags in somewhere between 600 and 1,500 transitive dependencies once you account for everything npm install or a Maven build quietly pulls down. The 2023 Synopsys OSSRA report found that 84% of scanned codebases contained at least one open source component with a license conflict or an unknown license. You almost certainly have license risk in your stack right now, and you probably can't name it.
This guide walks you through a practical open source license audit from scratch. You'll learn how to inventory every dependency, classify licenses by risk, spot the traps that catch even careful teams, and build a repeatable process so you never have to panic-audit before a funding round or an acquisition. No law degree required.
Key Takeaways
- An open source license audit starts with a complete dependency inventory (a Software Bill of Materials), not a spot-check of your
package.json.- The real risk lives in transitive dependencies, the packages your packages depend on, which can outnumber your direct dependencies 10 to 1.
- Copyleft licenses like GPL and AGPL create obligations that scale with how you distribute software, so classify by license family before you classify by package.
- Automated scanners catch 90% of issues fast, but dual-licensed, unlicensed, and vendored code need manual review.
- Document your findings and re-run the audit on every release. A one-time audit rots within weeks.
What Is an Open Source License Audit and Why It Matters
An open source license audit is the process of identifying every open source component in your software, determining the license attached to each one, and verifying that you are meeting the obligations those licenses impose. The output is usually a report that flags conflicts, missing attributions, and license types that are incompatible with how you ship your product.
It matters for three concrete reasons:
- Legal exposure. Violating a copyleft license can force you to release proprietary source code or pay damages. The Software Freedom Conservancy actively enforces GPL compliance.
- Deals and diligence. Any acquirer or serious investor will run their own scan. If they find surprises you didn't disclose, your valuation drops or the deal stalls.
- Distribution constraints. Some licenses are fine for internal tools but toxic the moment you sell or SaaS-ify the product. AGPL is the classic example.
If you sell or distribute commercial software, this is not optional hygiene. It's the same category of discipline as reviewing your dependencies for security issues before you ship, a habit we've written about in detecting malicious code in npm packages before installing.
The License Families You Actually Need to Understand
You don't need to memorize the text of 300 licenses. You need to understand the four families they fall into, because obligations cluster by family.
Permissive Licenses
MIT, BSD (2-clause and 3-clause), Apache 2.0, ISC. These let you do almost anything as long as you preserve the copyright notice and license text. Apache 2.0 adds an explicit patent grant, which is why enterprises prefer it. These are the safe zone for commercial products.
Weak Copyleft
LGPL, MPL 2.0, EPL. You can link to these from proprietary code, but if you modify the licensed files themselves, you must release those changes. MPL operates at the file level, which makes it more forgiving than LGPL's library-level scope.
Strong Copyleft
GPL 2.0, GPL 3.0. If you distribute software that incorporates GPL code, the entire combined work generally must be released under the GPL. This is the license that has ended product plans. "Distribute" is the operative word, which is why the family exists.
Network Copyleft
AGPL 3.0. This closes the "SaaS loophole." If users interact with your AGPL software over a network, that counts as distribution, and you owe them the source. If you run a hosted product, treat any AGPL dependency as a red alert.
How to Build Your Dependency Inventory (SBOM)
You cannot audit what you cannot see. The foundation of any credible audit is a Software Bill of Materials, a complete list of every component and its license. Here's how to build one across common ecosystems.
- Pick an SBOM format. Standardize on either SPDX or CycloneDX. CycloneDX has strong tooling and is easier for most teams to generate. Consistency matters more than the choice.
- Generate the SBOM per ecosystem. For Node, run
npx @cyclonedx/cyclonedx-npm --output-file sbom.json. For Python, usecyclonedx-py. For Java, the CycloneDX Maven plugin. For Go,cyclonedx-gomod. - Capture transitive dependencies. Make sure your tool walks the full tree, not just top-level packages. In npm,
npm ls --allshows the real depth. This is where most surprises hide. - Include non-package code. Vendored snippets pasted from Stack Overflow, forked libraries, Docker base images, and font files all carry licenses. Scan your container images with a tool like Syft.
- Merge into a single source of truth. A monorepo with four languages should produce one consolidated inventory, not four disconnected reports.
A worked example makes this concrete. Say you run a WordPress-based product with 38 plugins, a React admin dashboard with 74 direct npm dependencies, and a Python data service with 21 packages. On paper that's 133 components. After you generate the SBOM and expand transitive dependencies, the real count comes back at 1,247. Of those, an automated scan flags 9 with copyleft licenses and 14 with no detectable license at all. Those 23 packages, not the other 1,224, are your audit.
Running the Audit: A Step-by-Step Walkthrough
With your SBOM in hand, the audit itself is methodical. Follow these steps in order.
- Run an automated license scanner. Tools like FOSSA, ScanCode Toolkit (free and open source), or
license-checkerfor npm will map each package to a detected license. Start with the free ScanCode if you're bootstrapping:scancode -clpeu --json-pp results.json ./your-project. - Classify every license by family. Bucket results into permissive, weak copyleft, strong copyleft, network copyleft, and unknown. Sort so the copyleft and unknown buckets float to the top.
- Cross-check your distribution model. A GPL library in an internal build tool is often fine. The same library shipped inside a downloadable desktop app is a problem. Map each flagged license against how you actually ship.
- Manually review the "unknown" bucket. Open the repository, read the LICENSE file, check the package metadata, and look at the README. Many "unknown" results are just packages that put the license in an unusual place.
- Investigate dual-licensed packages. Libraries like Qt or MySQL connectors offer a commercial license and a copyleft one. Confirm which one you're relying on and whether you need to buy the commercial track.
- Check for license changes across versions. Some projects relicense. Elasticsearch famously moved to SSPL. Pin versions and note the license per pinned version, because upgrading can silently change your obligations. This is the same discipline we recommend when you verify a WordPress plugin update isn't compromised.
- Verify attribution requirements are met. Even MIT requires you to preserve the copyright notice. Generate a NOTICES or THIRD-PARTY file that bundles every required attribution, and ship it with your product.
- Document decisions. For each flagged component, record the license, the risk rating, the decision (keep, replace, or seek a commercial license), and who signed off. This record is what saves you during due diligence.
Scanner Comparison: Which Tool Fits Your Team
Choosing a scanner depends on budget, ecosystem, and whether you need policy enforcement in CI. Here's how the common options stack up.
| Tool | Cost | Transitive Deps | CI Enforcement | Best For |
|---|---|---|---|---|
| ScanCode Toolkit | Free / OSS | Via SBOM input | Manual | Deep file-level scans on a budget |
| FOSSA | Paid (free tier) | Yes | Yes | Teams needing policy gates |
| license-checker (npm) | Free / OSS | Yes | Scriptable | Quick Node-only checks |
| Syft + Grype | Free / OSS | Yes | Yes | Container and multi-language SBOMs |
| Snyk | Paid (free tier) | Yes | Yes | Combined license + security scanning |
My honest take after using several of these on production stacks: start with ScanCode or Syft to prove value, then move to a paid tool with CI gates once your audit becomes a recurring obligation. The free tools are excellent at discovery. The paid tools earn their price by enforcing policy automatically so a copyleft package never merges to main without a human waving it through.
Common Traps That Catch Careful Teams
Even teams that run scanners get burned by edge cases the scanner can't reason about. Watch for these.
- Copy-pasted code. A function lifted from a blog post carries the license of its source, and scanners that only read package manifests will never see it.
- Vendored and forked libraries. When you fork a GPL library into your own repo and strip the original license header, you don't erase the obligation. You just make it harder to find.
- Font and asset licenses. Web fonts, icon sets, and stock images have
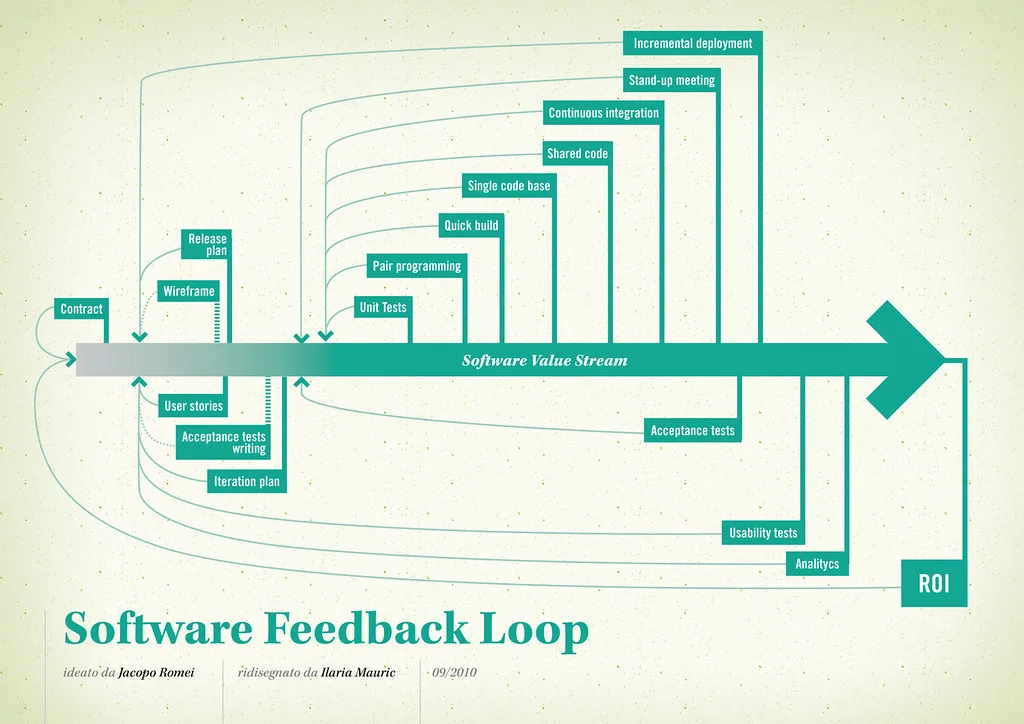
Cover image: Software value feedback loop by jakuza, licensed under BY-SA 2.0 via Openverse.