Here is an uncomfortable truth about WordPress security plugins: the plugin you install to protect your site is also one of the largest single expansions of your attack surface. It runs with full privileges, it hooks into authentication, it reads and writes to your database, and in many cases it phones home to a remote server. A plugin that is poorly coded, abandoned, or quietly acquired by a new owner can become the exact liability it promised to prevent.
This is not paranoia. In 2023 and 2024, security researchers disclosed vulnerabilities in some of the most popular security-adjacent plugins on the planet, including privilege escalation and authentication bypass bugs that affected millions of sites. Wordfence's own threat data has repeatedly shown that the plugin ecosystem, not WordPress core, is where the overwhelming majority of exploited vulnerabilities live. The plugin badge that says "500,000+ active installs" tells you nothing about whether the code is safe.
So before you hand a plugin the keys to your login flow, you need a repeatable process. In this article I'll walk you through exactly how to audit a WordPress security plugin before trusting it: what to inspect, which numbers to check, how to read the code even if you are not a full-time developer, and how to compare candidates side by side. This is the same checklist I run on every plugin I put on a client site.
Key Takeaways
- Never trust install count or star rating alone. Check patch history, disclosure response time, and the last update date first.
- A security plugin should reduce your attack surface, not expand it. Audit its permissions, outbound connections, and stored data.
- Read the changelog and vulnerability databases (WPScan, Patchstack, CVE) before installing, not after.
- Test in a staging environment and monitor real network traffic. Assume the plugin talks to the internet until proven otherwise.
- Vendor accountability matters. A named company with a support channel beats an anonymous author every time.
- Document your audit so you can re-run it at renewal or when the plugin changes ownership.
Why Auditing a Security Plugin Is Different From Auditing Any Other Plugin
Every plugin deserves scrutiny, but security plugins sit in a special risk tier. A broken contact form breaks a form. A broken firewall plugin can lock out your admins, silently disable protection, or introduce a bypass that attackers discover before you do.
Three characteristics make them higher risk:
- Elevated privileges. Firewall and login-hardening plugins hook into
authenticate,init, and user capability checks. A bug here is a bug in your front door. - Attacker attention. Popular security plugins are studied by both defenders and attackers. A single-day exploit window can affect hundreds of thousands of sites.
- Trust concentration. Because you rely on them for safety, you tend to give them the benefit of the doubt and stop watching them. That complacency is the real vulnerability.
The goal of an audit is to replace that blind trust with evidence. If you are already comfortable digging into plugin internals, our companion guide on how to fuzz test WordPress plugins for vulnerabilities before use pairs well with the manual review process below.
Step 1: Vet the Vendor Before You Open a Single File
Code quality starts with the people who write it. Before downloading anything, spend 15 minutes on the vendor.
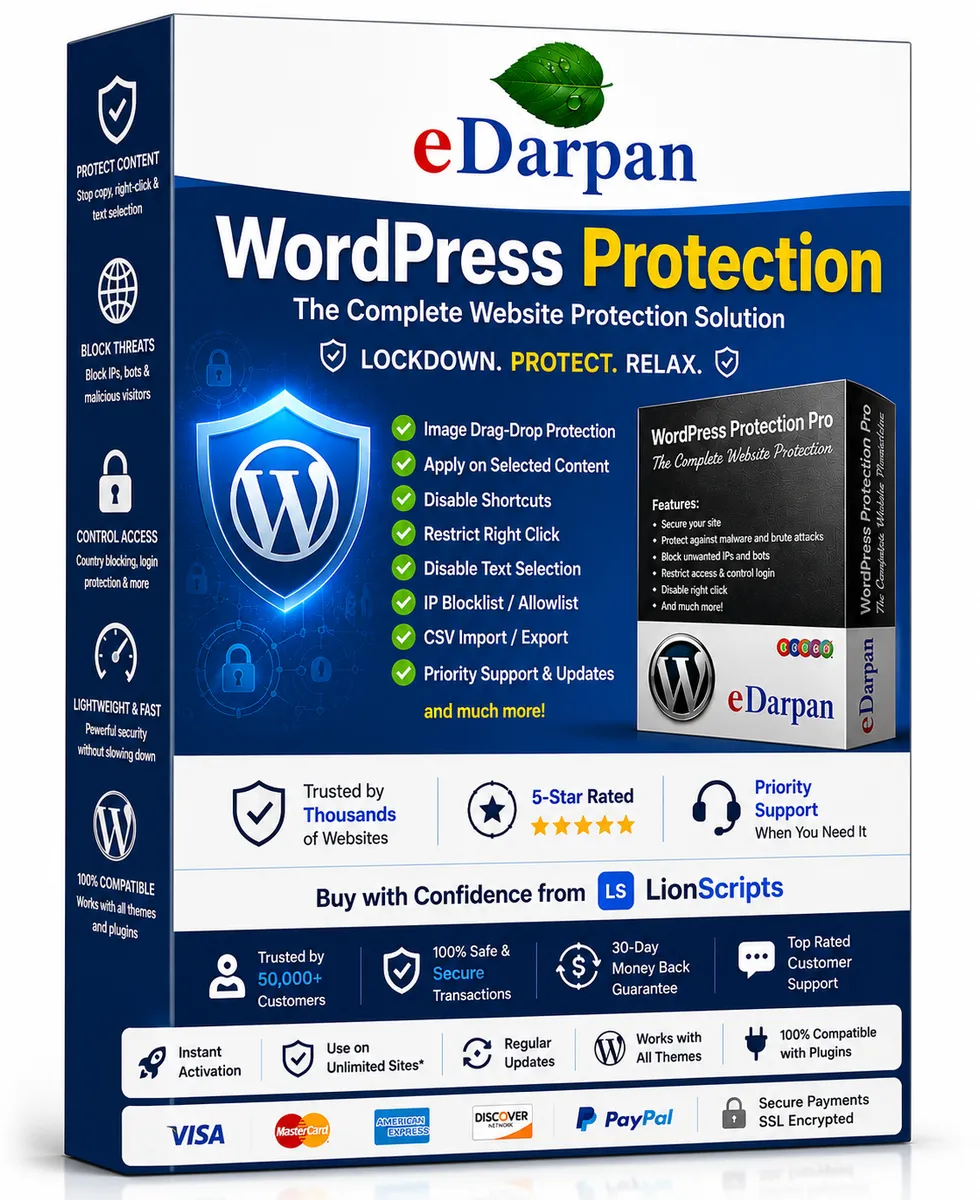
- Find out who actually maintains it. Is it a named company, a solo developer, or an anonymous handle? A registered business with a support address and a track record is far more accountable than an author you cannot contact. This is one reason I lean toward vendors like the team behind eDarpan WordPress Protection, where there is a real company and a support channel behind the product.
- Check for ownership changes. Search the plugin name plus "acquired" or "new owner." Ownership transfers are a common precursor to injected ads, telemetry, or malicious updates. The WordPress.org changelog and forum will often reveal a sudden change in maintainer.
- Review the support footprint. Open the support forum. Are unanswered security questions piling up? How fast do they respond to "my site got hacked" threads? A vendor that responds within 24 to 48 hours is a good sign.
- Confirm a security contact exists. A serious vendor publishes a way to report vulnerabilities responsibly, whether that is a
security.txt, a dedicated email, or a bug bounty. No disclosure channel is a red flag.
You can apply the same vendor-trust lens across our full product catalog, and it maps neatly onto the principles in our guide to verifying open-source software before you install it.
Step 2: Read the Numbers That Actually Predict Safety
The WordPress.org listing shows install count and rating front and center. Those are the least useful metrics for security. Here are the ones I check instead, and what they mean.
The metrics that matter
- Last updated date. If the plugin has not been updated in more than six months, treat it as suspect. WordPress core moves fast, and stale security code is a contradiction in terms.
- Update frequency during the last year. A steady cadence of small releases suggests active maintenance. Long silence followed by a giant "rewrite" release suggests instability.
- Time-to-patch on disclosed CVEs. Look up the plugin on WPScan and Patchstack. When a vulnerability was reported, how many days passed until a fixed version shipped? Under 7 days is excellent. Over 30 days is a problem.
- Version compatibility. Does it declare compatibility with the current WordPress version and your PHP version? A plugin tested only up to PHP 7.4 is a maintenance warning sign.
A worked example
Say you are choosing between two login-protection plugins. Plugin A has 900,000 installs, a 4.8 rating, and was last updated 11 months ago. Plugin B has 40,000 installs, a 4.6 rating, and was updated last week.
You check WPScan. Plugin A has two disclosed vulnerabilities in the past year, one of which took 42 days to patch. Plugin B has one disclosed vulnerability, patched in 4 days, with a public write-up of what changed. Despite the smaller install base and lower rating, Plugin B is the safer choice because its maintainers demonstrably respond fast and communicate clearly. The install count that made Plugin A look dominant is exactly what makes it a bigger target.
Step 3: Inspect the Code and Its Behavior
You do not need to be a senior PHP engineer to catch the most common problems. You need a downloaded copy of the plugin and a text editor with search. Here is the practical walkthrough.
- Download the ZIP and extract it locally. Never audit a plugin live on production for the first time.
- Grep for outbound connections. Search the codebase for
wp_remote_get,wp_remote_post,curl_exec,file_get_contents(http, andfsockopen. Every hit is a place the plugin talks to a server. Confirm each destination is a domain you recognize and expect. - Look for dangerous functions. Search for
eval(,base64_decode(,gzinflate(,system(,exec(, andcreate_function(. Legitimate plugins occasionally use base64 for encoding, but chained obfuscation likeeval(base64_decode(gzinflate(...)))is a near-certain sign of hidden or malicious code. - Check input handling. Search for
$_GET,$_POST, and$_REQUEST. Confirm the values are sanitized (sanitize_text_field,absint) and that database calls use$wpdb->prepare(). Raw user input concatenated into SQL is a classic injection hole. - Verify capability checks and nonces. Any admin action should check
current_user_can()and verify a nonce withcheck_admin_referer()orwp_verify_nonce(). Missing checks are how privilege escalation bugs happen. - Scan for bundled libraries. Third-party libraries inside the plugin can be years out of date. Note their versions and cross-check them for known CVEs.
If the plugin ships AI-generated or heavily copy-pasted code, the risk profile shifts again. Our deep dive on auditing AI-generated code for supply chain risks explains what to look for when the author was not the only "author."
Step 4: Test It in a Staging Environment and Watch the Traffic
Static review tells you what the code can do. Dynamic testing tells you what it actually does. Set up a staging clone of your site and install the plugin there.
- Baseline first. Record a list of outbound connections and cron jobs before installing the plugin, using a network monitor or your host's logs.
- Install and activate. Immediately check
wp_optionsfor new autoloaded entries andwp_cronfor new scheduled events. Excessive autoloaded data is a performance and privacy concern. - Capture network traffic. Use a proxy or your firewall to log every outbound request during activation, a login, and a settings save. Match each destination against the domains you found in Step 3. Unexpected analytics or "phone home" endpoints deserve an explanation.
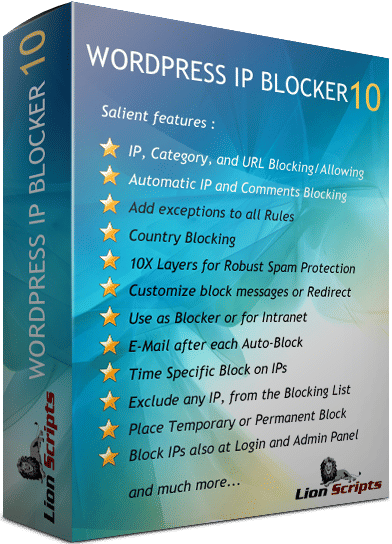
- Test the failure modes. Deliberately trigger a lockout. Does the plugin lock you out with no recovery? Does it correctly log the event? A good login limiter, or a dedicated tool like WordPress IP Blocker Pro, should give you a clean recovery path and a readable audit log.
- Measure performance impact. Compare page load and admin dashboard timing before and after. A security plugin that adds 400ms to every request is a tax you pay forever.
Browse the wider WordPress plugins category to see which tools are transparent about their network behavior in their documentation. Transparency in the docs is itself a trust signal.
Step
Cover image: Innovate Maryland Emerging Technology Center by MDGovpics, licensed under BY 2.0 via Openverse.